
Oct 9, 2026Blog
Why Do You Need a Packaging Dieline Before Finalizing Your Box Design?
Learn why a packaging dieline should be confirmed before final artwork, what it defines, common design mistakes, and how manufacturers prepare production-ready boxes.
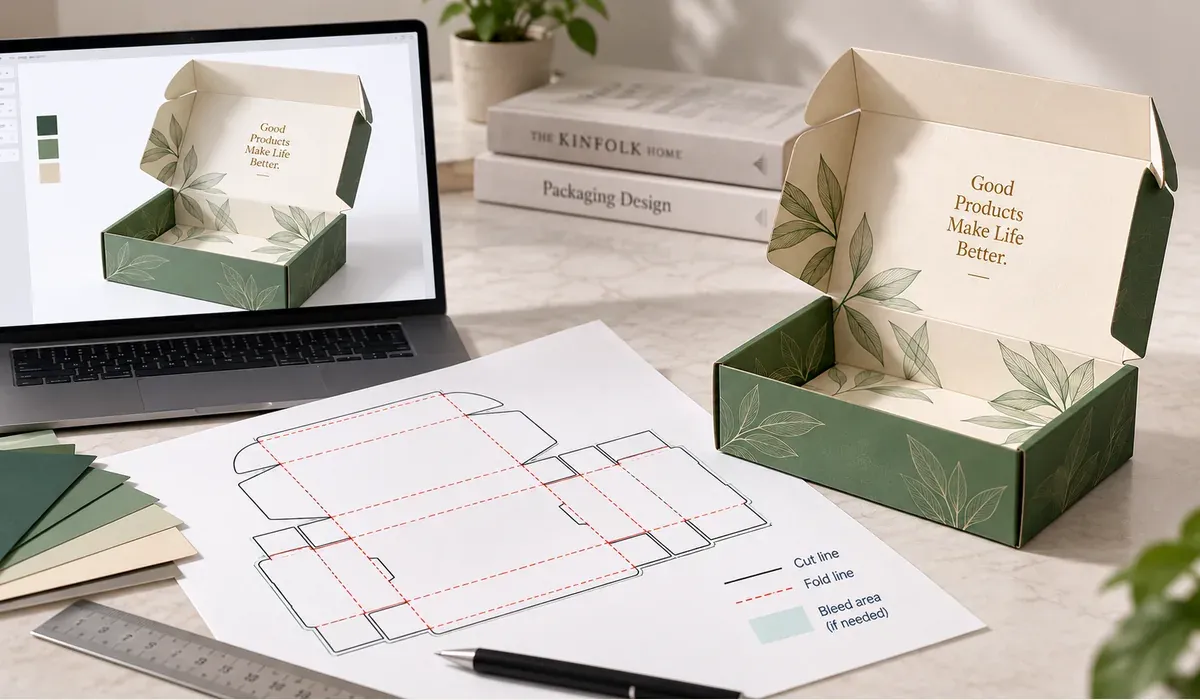
A Real Packaging Question: Can We Quote From a Concept Image?
A customer recently contacted us with a packaging concept image and asked for a quotation. The image communicated the desired appearance, but it did not provide a confirmed cutting and folding layout. After reviewing the requirements, the next step was to prepare a box dieline so the customer's designer could build the artwork around the actual structure.
This situation is common in custom packaging. A concept image shows what the box should look like; a packaging dieline defines how the box will be made. Both are useful, but they serve different purposes.
You can often receive an initial cost estimate from a reference image, approximate dimensions, material preferences and order quantity. However, the box structure must be confirmed before final artwork and production approval.
What Is a Packaging Dieline?
A packaging dieline is a flat technical layout of the box before it is cut, creased and assembled. Depending on the structure, it identifies:
- Cut lines: where the board will be cut to shape.
- Crease or fold lines: where panels are intended to bend.
- Glue areas: where adhesive is applied, if the box requires gluing.
- Locking tabs and dust flaps: parts that secure or close the package.
- Special features: windows, tear strips, perforations or openings when required.
- Artwork guidance: panel boundaries and, in a separate prepress layer or specification, bleed and safe areas.
The dieline is not simply a picture of an unfolded box. Its geometry must account for the board construction, dimensions, assembly method and manufacturing tolerances.
Visual note: A concept rendering communicates appearance, while the production dieline must be supplied and checked separately. Do not use an illustrative template as a cutting file.
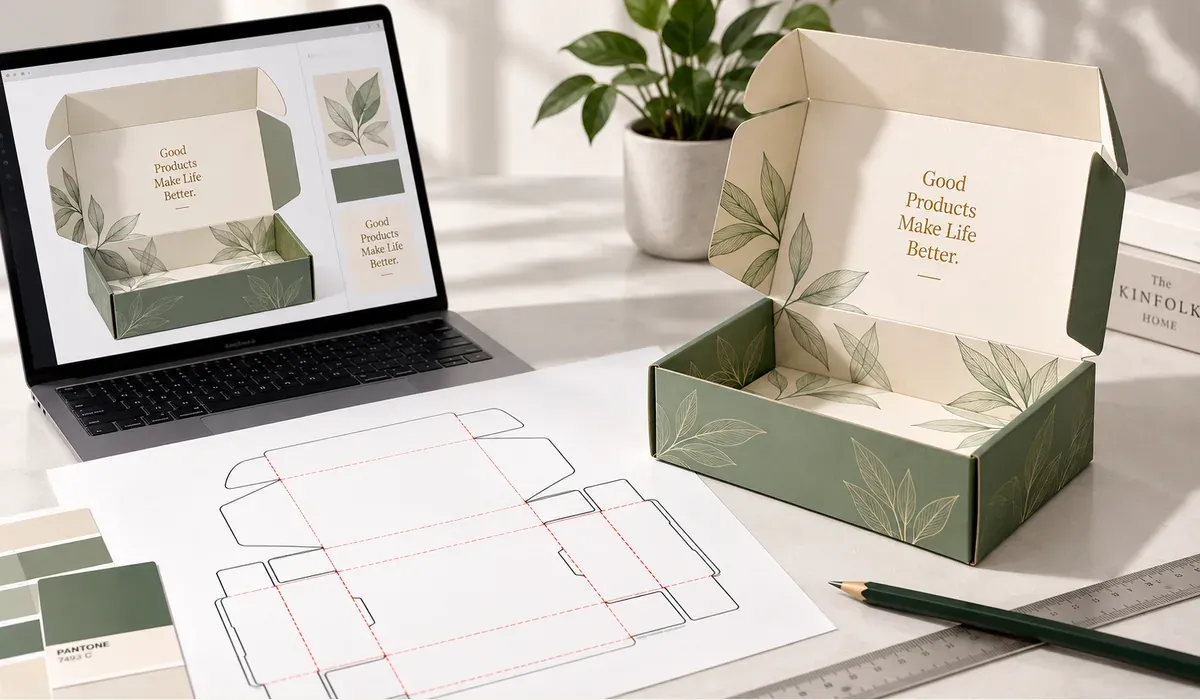
Why the Dieline Should Come Before Final Artwork
1. Artwork Must Follow Real Panel Boundaries
A designer may place a logo perfectly in the center of a 3D rendering, only to discover that the printed panel is interrupted by a fold, seam or opening. If the structure changes after artwork is complete, the design may need to be rearranged.
The approved dieline gives the designer a reliable map for positioning logos, text, barcodes and decorative elements. It also helps avoid putting important information too close to edges, creases or glue areas.
2. Small Structural Details Can Affect Box Performance
The size of a glue flap, the shape of a locking tab and the position of a tear strip are functional decisions, not decorative ones.
For example, a tear strip should be positioned with enough uninterrupted material for controlled opening and should not compromise an essential glued joint. A glue flap must provide suitable bonding area for the material and production process. These details require structural review; they cannot be reliably decided from a perspective rendering alone.
3. Material Thickness Changes How a Box Folds
A box made from solid paperboard behaves differently from a corrugated mailer. Board thickness, flute direction, crease settings and panel geometry can all affect folding and closure.
That is why a dieline created for one material should not automatically be reused with another without checking its fit and manufacturability.
4. It Reduces Artwork Revisions and Sampling Delays
When designers work from a provisional shape, a later structural change can shift every printed panel. Confirming the structure first reduces the chance of having to reposition graphics, redo mockups and repeat prepress checks.
It does not eliminate the need for sampling. It makes sampling more meaningful because the artwork and the physical structure are based on the same approved layout.
Can a Manufacturer Quote Without a Dieline?
Yes, for a preliminary quotation in many cases. A manufacturer can estimate pricing when the customer provides enough information, such as:
- A concept image or a reference sample
- Intended internal or external box dimensions, clearly identified
- Product dimensions and approximate packed weight
- Preferred material or performance requirements
- Printing, finishing and special opening features
- Estimated order quantity
The manufacturer may need to make assumptions about the structure, sheet usage, assembly and packing method. Those assumptions should be stated clearly. The final price can change after structural engineering, material confirmation and sampling.
For a highly customized box, a concept image alone may not provide enough information for a dependable final quotation.
Who Should Prepare the Packaging Dieline?
Usually, the packaging manufacturer or an experienced structural packaging designer prepares the dieline. The brand's graphic designer then places artwork on the approved template.
A practical division of responsibilities is:
Party | Main responsibility |
|---|---|
Brand or buyer | Confirm product needs, box dimensions, opening experience and appearance |
Packaging manufacturer | Develop or adapt the structure, check manufacturability and provide the dieline |
Graphic designer | Prepare artwork using the confirmed panel layout and prepress requirements |
Both parties | Review physical samples, artwork proofs and final specifications |
A dieline can be shared as an editable vector file, commonly in AI or PDF format, depending on the workflow. The file should clearly distinguish cutting, creasing and other production information. A PDF is not automatically editable simply because it contains vectors; the receiving designer should confirm the file can be used in their software.
Does Every Custom Box Need a New Dieline?
Not necessarily. For standard tuck-end cartons or common mailer structures, a manufacturer may have an existing template that can be resized or adapted.
A new or substantially revised structure is more likely to be required when the project includes unusual proportions, custom locking mechanisms, tear strips, display openings or complex internal supports.
Even when a standard template is used, the final dimensions, material and artwork layout still need approval.
A Better Workflow: From Concept to Production
For projects like the customer enquiry described above, we recommend this sequence:
- Share the concept. Send the reference image, product details, dimensions and quantity.
- Review feasibility and estimate cost. Discuss materials, structure and any assumptions behind the preliminary quotation.
- Develop and check the dieline. Confirm the cutting, creasing, closing and gluing features before treating it as the final template.
- Create artwork on the approved dieline. The designer positions graphics within the correct panels, bleed and safety requirements.
- Make and test a physical sample. Check product fit, assembly, closure, appearance and opening experience.
- Approve final production files. Confirm dimensions, material, finishing, artwork and the final dieline revision before mass production.
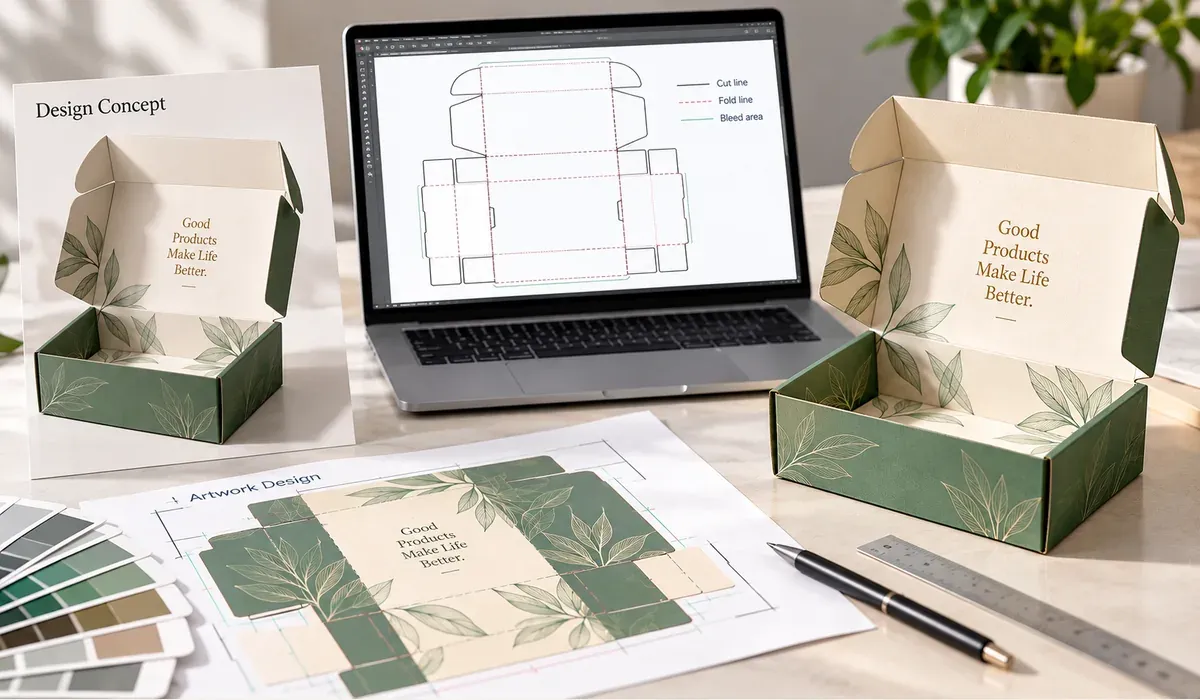
Questions to Ask Before Approving a Box Dieline
Before releasing artwork, ask your supplier:
- Are the stated dimensions internal or external?
- Has the structure been checked against the selected material?
- Are glue areas, locking tabs and special features correctly located?
- Are the artwork panels, bleed and safe areas