
Oct 5, 2026Blog
What Should You Check Before Approving a Custom Mailer Box Sample?
Received your custom mailer box sample? Check product fit, corrugated material, folds, closure, printing, inserts and shipping use before approving bulk production.
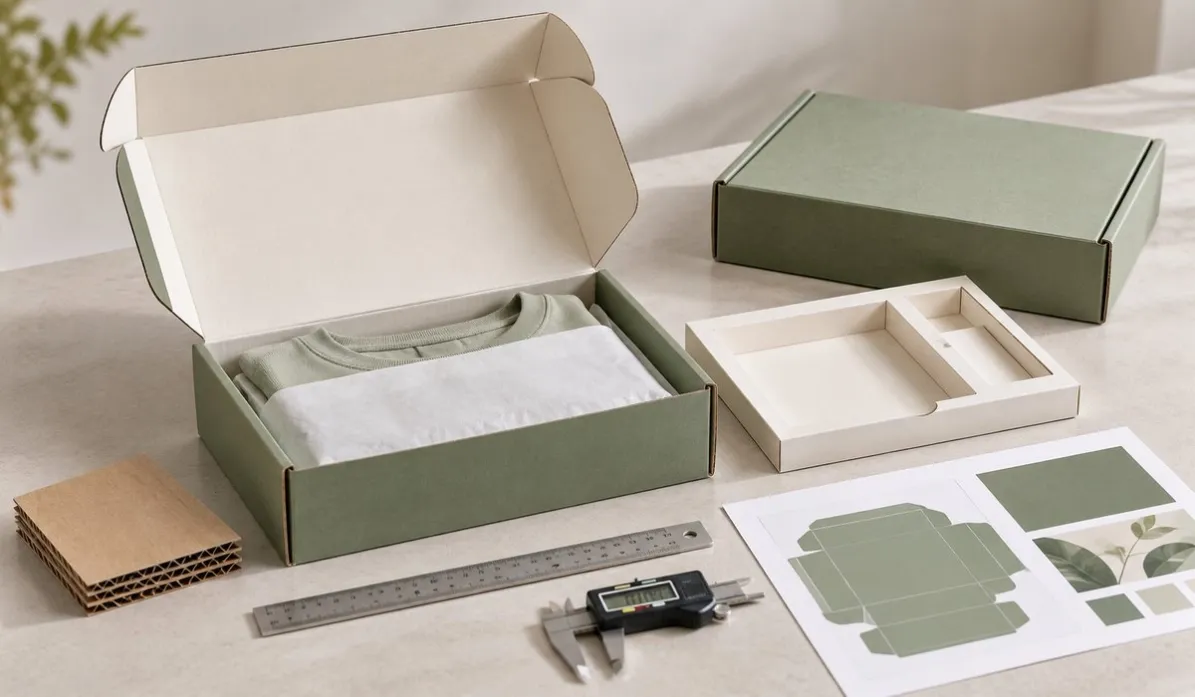
A custom mailer box sample arrives.
The printing looks good.
The color looks close to the artwork.
The box also looks strong enough on the table.
Can you approve mass production?
Not yet.
A mailer box is not only a printed packaging surface. It is also a folded corrugated structure that needs to hold the actual product, close correctly and work with the intended packing and shipping process.
A better approval sequence is:
Assemble → Pack Product → Check Fit → Close → Inspect → Handle → Pack for Shipping → Approve
The most important question is not:
“Does the sample look good?”
It is:
“Does the complete mailer box work correctly with the actual product and packing process?”
1. First Confirm What Type of Sample You Received
Not every packaging sample proves the same thing.
Depending on the project, you may receive:
- a plain structural sample
- a digitally printed sample
- a sample using the intended corrugated material
- a production-reference sample
- a material or printing sample
A plain structural sample may be useful for checking:
- dimensions
- product fit
- assembly
- opening
- closure
- insert fit
But it may not accurately represent every detail of final bulk printing or finishing.
A printed sample can help evaluate artwork, color direction and presentation, but the buyer should still confirm whether the sample process and bulk production process are the same.
Before approving anything, ask:
What exactly is this sample intended to approve?
That prevents a structural prototype from being treated as proof of every bulk-production detail.
2. Assemble the Box Yourself
Do not review the sample only while it is flat.
Assemble it.
This immediately tells you more about:
- fold lines
- corrugated board behavior
- locking tabs
- side panels
- front closure
- lid alignment
- assembly difficulty
A mailer box that looks correct as a flat blank can behave differently after folding.
Check whether the box forms naturally without excessive force.
The finished box should not require unusual bending, repeated adjustment or unnecessary pressure just to achieve the intended shape.
If employees or a fulfilment team will assemble hundreds or thousands of boxes, this becomes even more important.
A structure that takes only a little extra effort for one sample can become a much bigger operational issue at volume.
3. Test the Sample With the Actual Product
This is one of the most important approval steps.
Do not approve product fit using dimensions alone if the actual product is available.
Pack the real product exactly as it will be packed during normal production.
Include:
- the product
- tissue paper
- protective wrapping
- instruction cards
- accessories
- promotional materials
- inserts
- dividers
if these will be part of the final pack-out.
The product may technically fit inside an empty box but become too tight once all packaging components are added.
The opposite problem can also occur.
If there is too much unused space, the product may move unnecessarily during handling or shipping.
So evaluate the complete system:
Product + Accessories + Insert + Protective Material + Mailer Box
rather than each component independently.
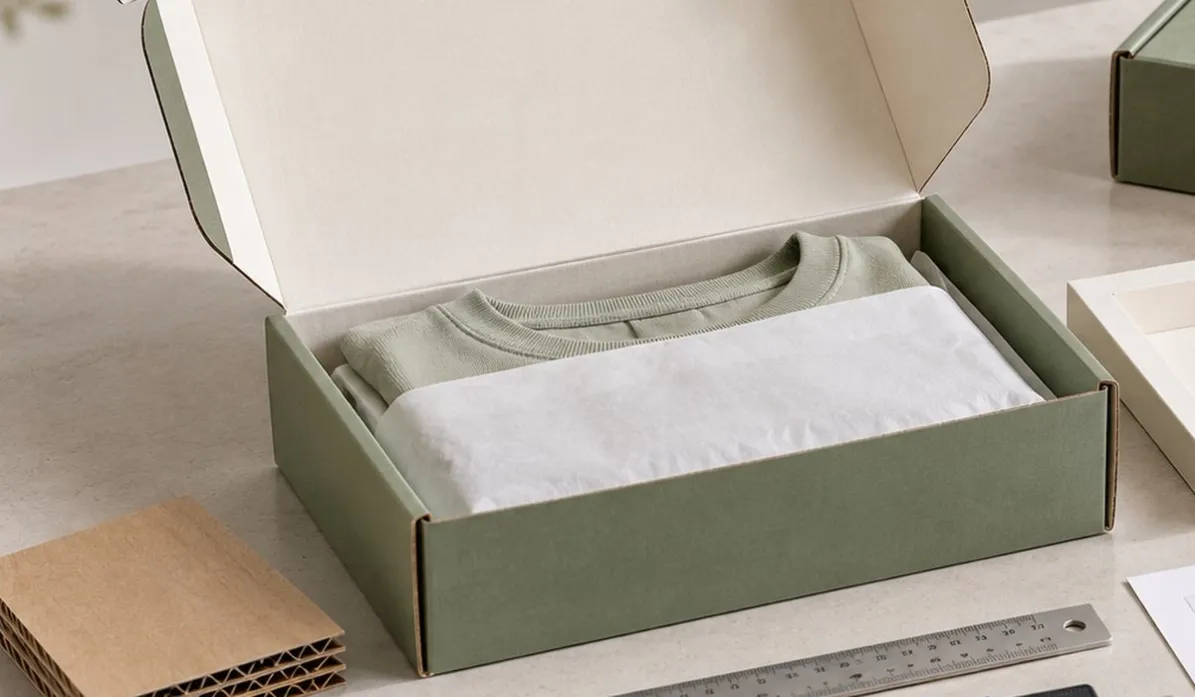
4. Check the Internal Size and Clearance
The finished internal dimensions determine how much usable space the product actually has.
Check:
- length
- width
- height
- product orientation
- clearance around the product
- space above the product before closing
Do not aim for the tightest possible fit simply to make the box smaller.
Too little clearance can make packing difficult or put pressure on the product and box walls.
Too much clearance can allow movement and may unnecessarily increase the package size.
The correct clearance depends on:
- product shape
- fragility
- protective material
- insert
- packing process
- shipping conditions
The sample is where this relationship should be tested physically.
5. Confirm the Corrugated Material and Flute
Mailer boxes are commonly made from corrugated board.
The board construction affects:
- thickness
- rigidity
- cushioning
- folding
- print surface
- overall appearance
E-Flute and B-Flute are common options, but the correct choice depends on the actual application.
Do not approve the board simply because:
“It feels thick.”
Instead ask:
Does this board work with this product, box size, structure and shipping requirement?
A thinner construction may work well for a compact lightweight product.
A different board may be appropriate when the box is larger, heavier or requires more protection.
6. Check the Fold Lines
Corrugated mailer boxes depend on multiple folds to create the final structure.
Inspect the folds after assembly.
Look for:
- excessive cracking
- surface whitening
- damaged printed areas
- irregular folding
- crushed edges
- excessive resistance
Pay particular attention when artwork or heavy color coverage crosses a fold.
The purpose is not to expect every fold to remain visually identical to a flat printed panel.
The purpose is to confirm that folding does not create an unacceptable appearance or interfere with the structure.
Open and close the sample several times if that reflects normal customer use.
7. Check the Closure
Close the box with the complete product inside.
Then check:
- Does the lid sit correctly?
- Do the locking tabs engage properly?
- Does the front panel stay closed?
- Does the box bow?
- Does the product push against the lid?
- Is excessive force required to close it?
- Does the closure remain secure during normal handling?
This test should be performed with the product inside.
An empty mailer can close perfectly while a fully packed box behaves differently.
If the closure changes only after the product is packed, investigate product fit and internal pressure before assuming the closure itself is wrong.
8. Check the Insert With the Product
If the project includes an insert, test it as part of the complete packaging system.
Check whether the insert:
- holds the product in the intended position
- prevents unnecessary movement
- allows easy product placement
- does not damage the product
- does not make the outer box difficult to close
- presents the product correctly when opened
An insert should solve a packaging problem.
It should not be added automatically just because premium packaging often uses one.
If you are still deciding whether one is necessary, see our guide to when packaging needs an insert.
9. Review the Exterior Printing
Once the structure and fit are confirmed, inspect the printing.
Check:
- logo position
- artwork orientation
- text
- spelling
- brand colors
- image quality
- registration
- small details
- print coverage
- important artwork near cut and fold areas
Compare the physical sample with the approved artwork.
But remember:
A screen is not the same thing as ink printed on corrugated material.
Paper surface, ink, printing method and finishing can influence the final appearance.
If color is critical, define the approved physical reference rather than relying only on the appearance of a monitor.
10. Review Inside Printing After Assembly
Inside printing should be evaluated on the assembled box, not only on the flat artwork.
Why?
Because the customer sees the interior in a particular opening sequence.
Check:
- artwork orientation
- hidden areas
- fold intersections
- text position
- color
- visual balance when the lid opens
An interior message can look perfectly centered on a flat dieline but feel differently positioned once the box is assembled.
Our guide to inside printing on mailer boxes explains when interior printing adds value and when it may not be necessary.
11. Check Finishing on the Actual Folded Box
If the project uses special finishing, inspect it after the box has been assembled.
Depending on the specification, this may include:
- lamination
- coating
- spot UV
- foil
- embossing
- debossing
Check whether the finish works correctly around:
- folds
- edges
- cut lines
- locking areas
- high-contact surfaces
A finish may look excellent on a flat printed sheet but behave differently after die-cutting, folding and repeated handling.
So approve the finished packaging condition, not only a flat sample.
12. Check Barcodes and QR Codes
If the mailer box contains functional printed information, test it.
Do not approve a QR code because it looks sharp.
Scan it.
Do not approve a barcode because the artwork file is correct.
Test the physical printed code where possible.
Also check:
- size
- contrast
- print clarity
- location
- distance from folds and edges
Functional elements should be reviewed as functions, not only graphics.
13. Simulate the Real Packing Process
Now pack the sample the way your team will actually pack it.
For example:
Assemble Box → Add Insert → Add Product → Add Accessories → Add Tissue → Close Box → Apply Label → Pack Into Master Carton
Watch for problems such as:
- slow assembly
- difficult product insertion
- excessive force
- tissue interfering with closure
- insert movement
- product movement
- labels crossing important artwork
- closure becoming inconsistent
This is especially useful for larger quantities.
A packaging design can look excellent and still create unnecessary work during fulfilment.
14. Is the Mailer Shipped Directly or Inside a Master Carton?
This changes what the sample needs to prove.
Packed Inside a Master Carton
If multiple mailer boxes are packed into a larger shipping carton, the master carton provides additional transportation protection.
Check:
- how the mailers fit inside the master carton
- stacking direction
- packing quantity
- whether surfaces rub against each other
- whether boxes become crushed during packing
Shipped Directly
If the printed mailer itself travels through the courier network, the requirement can be more demanding.
The box may experience:
- drops
- stacking
- abrasion
- labels
- repeated handling
- compression
For fragile, valuable or distribution-sensitive products, discuss whether a defined transit test is appropriate.
Not every mailer box requires formal laboratory testing.
The testing approach should match the actual product and distribution risk rather than being added automatically.
15. Don't Judge Shipping Performance From an Empty Box
An empty box and a packed box behave differently.
The product can:
- support the box
- create pressure on panels
- shift during movement
- change weight distribution
- affect closure
So if shipping performance matters, evaluate the complete packed system.
This is particularly important when the mailer box itself is the shipping container.
The real question is not:
“Is this box strong?”
It is:
“Is this packaging system suitable for this product and this shipping journey?”
16. Check the Final Unboxing Experience
After the technical checks, become the customer for a moment.
Receive the packed sample.
Open it normally.
Look at:
- first visible surface
- opening direction
- interior artwork
- product position
- insert presentation
- tissue or accessories
- ease of product removal
This is where structural decisions and branding meet.
A beautiful printed interior has limited value if the product arrives out of position.
And a perfectly protected product may still feel poorly presented if the opening experience is awkward.
For branded mailers, both functions matter.
17. Record What You Are Approving
Do not finish sample approval with only:
“Looks good. Approved.”
Record the important specification.
Depending on the project, this may include:
- finished box dimensions
- corrugated material
- flute
- dieline version
- artwork version
- printing colors
- inside / outside printing
- finishing
- insert
- packing method
- approved sample photos
- approval date
If something changes after approval, confirm the change in writing.
This creates a clearer reference for production and future repeat orders.
A Practical Mailer Box Sample Approval Checklist
Before approving bulk production, review the complete package:
Check | What to Verify |
|---|---|
Sample Type | What does this sample actually approve? |
Dimensions | Finished internal size |
Product Fit | Actual product and full pack-out |
Corrugated Board | Material and flute |
Assembly | Folding and locking |
Closure | Lid and front lock with product inside |
Fold Lines | Cracking, whitening and resistance |
Insert | Fit, support and presentation |
Exterior Print | Color, logo, artwork and text |
Inside Print | Orientation after assembly |
Finishing | Appearance after folding |
QR / Barcode | Physical scan test |
Packing | Real fulfilment process |
Shipping | Direct ship or master carton |
Appearance | Final packed and opened presentation |
Approval Record | Final specification and version |
The purpose is not to make sample approval complicated.
It is to identify problems while they are still inexpensive to correct.
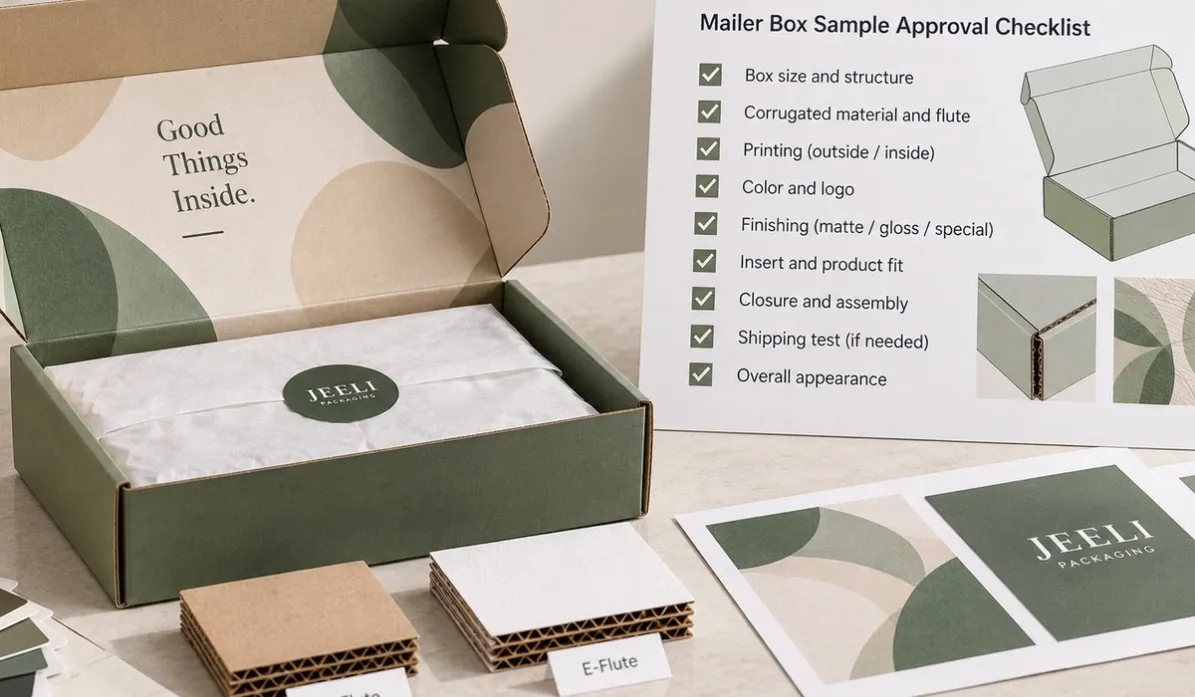
What Should You Send Back If the Sample Needs Changes?
Avoid feedback such as:
“The box doesn't feel right.”
Instead identify the exact issue.
For example:
“The product fits, but after adding the instruction card and tissue paper, the lid is under pressure and does not stay flat.”
or:
“The structure is approved, but the logo on the inside lid needs to move approximately 10 mm upward. No other artwork changes.”
Photos with clear annotations can also help.
The more specific the feedback, the easier it is for the supplier to determine whether the change affects:
- dimensions
- dieline
- material
- artwork
- printing
- insert
- production cost
Final Rule: Approve the Complete Pack-Out, Not Just the Box
A mailer box sample should not be approved as an isolated object.
Review:
Product + Box + Corrugated Board + Insert + Printing + Packing + Shipping
together.
The sample may look excellent when empty.
But the final packaging only succeeds when it works after the actual product goes inside.
That is why the safest approval test is simple:
Assemble it. Pack it. Close it. Handle it. Open it.
Then approve it.
Developing Custom Mailer Boxes?
Jeeli Packaging produces custom corrugated mailer boxes for apparel, e-commerce, cosmetics, electronics, retail and branded product packaging.
If you are developing a new mailer box, send us your product dimensions, weight, quantity, artwork and shipping requirements.
We can review the structure, corrugated material, printing and sample requirements before bulk production.